Monday, July 9, 2012


Our third week of woodwork kicked off with the entrance of a new member to the team- Graeme. Graeme took part in Paul’s first year apprenticeship program, where he and the rest of the group constructed and erected the quite impressive timber frame structure for the main house, in addition to building the foundation and stone stem wall. Graeme had come, direct from Edinburgh, to help guide us through one of the more challenging woodworking tasks we’d be facing here- the construction of roundwood knee braces for the workshop and cruck-frame buildings.

The knee brace, though small relative to the other structural timbers, is quite essential to the stability and rigidity of any timber frame building. The knee brace is installed at a 45 degree angle bridging posts and beams, and in so doing introduces a series of triangles into the building frame. This triangulation transforms what is likely to be a wobbly frame into a rigid structure, more apt to handle high winds and whatever other environmental forces might be applied to the frame. The need for such a brace was unwittingly made clear to Graeme who had laid down for a rest in a hammock hanging from one of the workshop beams, only to find that the whole building was swinging right along with him. After that, a couple of us attempted to shake the building ourselves, and once again it moved in tow.  It was quite interesting- and a good lesson- to see that, despite the great weight of the roundwood post-and-beam frame, without the proper bracing it was actually quite easy to push around.

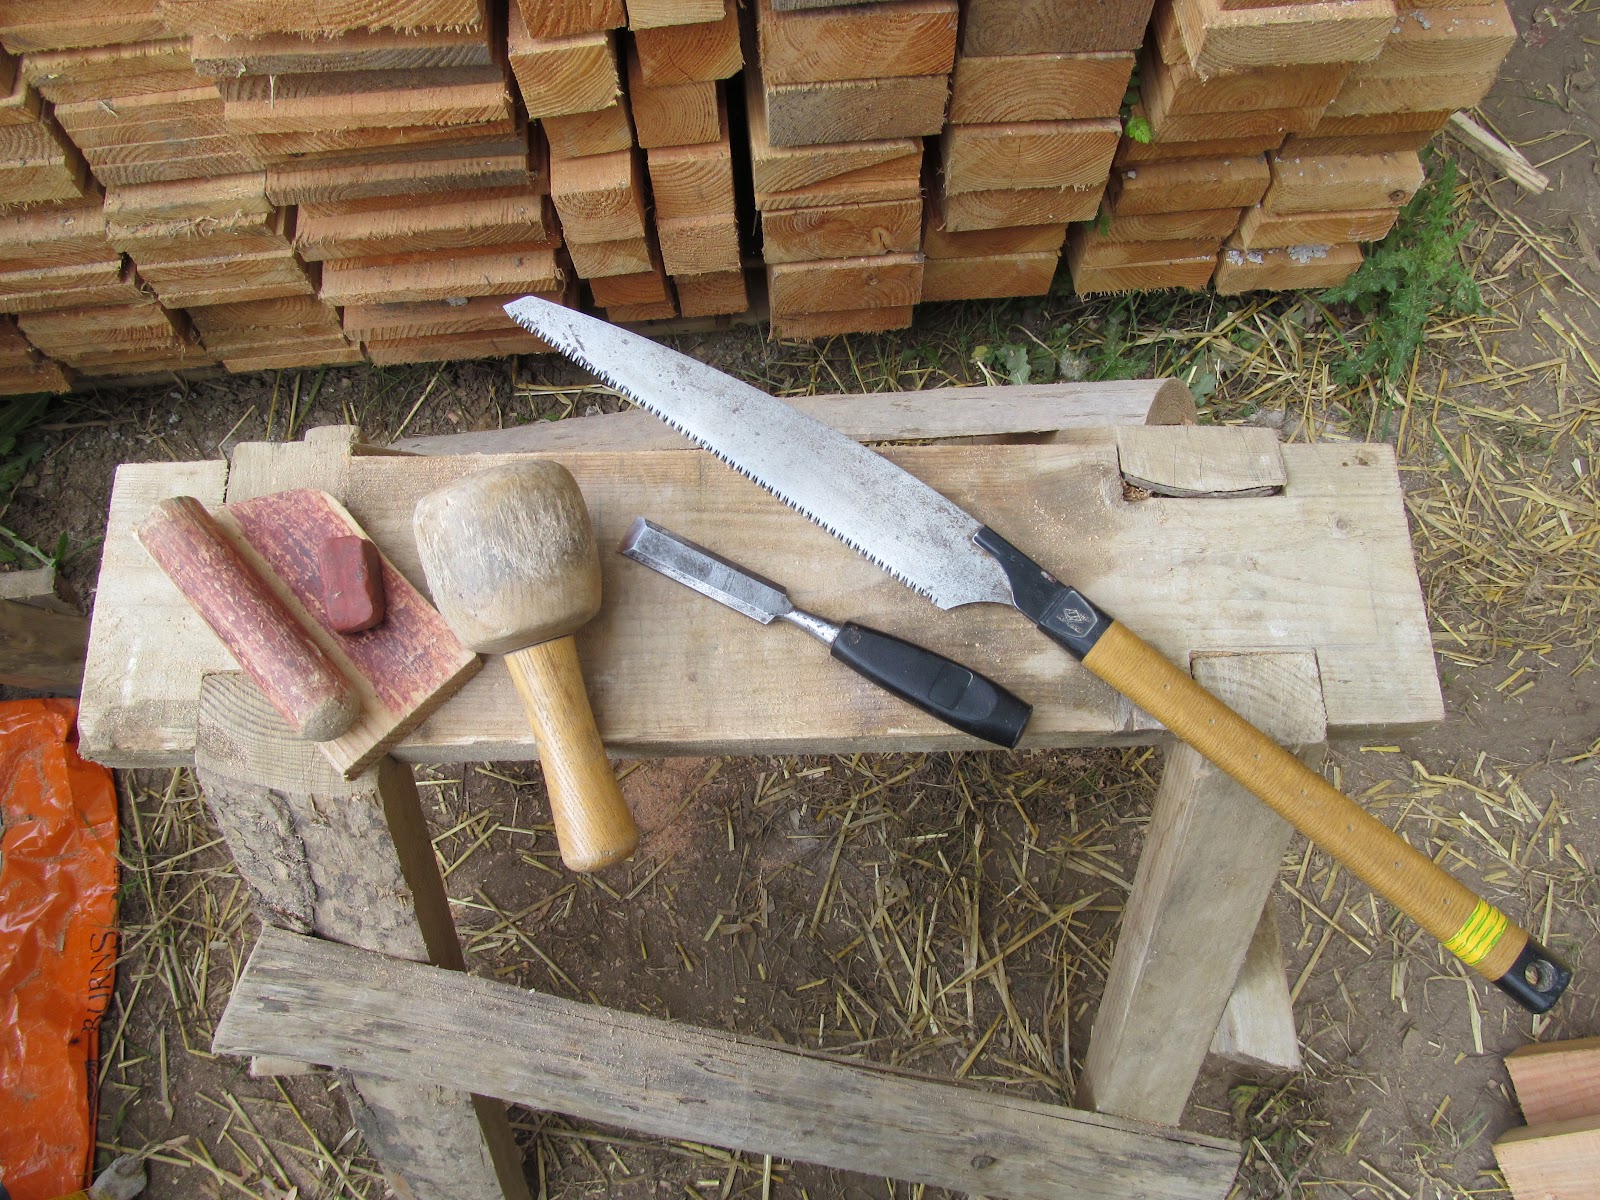
Like all of the timbers in the workshop building, and some in the cruck frame, these knee braces were going to form saddle joints with the posts and beams they would be adjoining. In concept, this is a fairly straightforward joint. The approximate profile of one timber is carved out of another, so that when the two come together a seamless joint is made. We all soon discovered, though, the real art involved in achieving a tight fit between three curvy pieces of timber meeting each other at an angle. Making this work involved a mixture of some rough calculation and a lot of intuition, constantly moving between the bench and the frame to bring the different pieces of wood ever closer together.

We did find that, as with much of the previous woodwork we have done here, the great deal of the work in fitting these braces was in the fine-tuning of the fit. Yet, after a lot of hand carving, gouge sharpening, and some power grinding, we were very happy to see a row of braces stretching quite organically between the structural timbers of the cruck-frame and workshop. Though there are some extra considerations to be made in working with the rounded timber, it’s hard to beat the beauty of the naturally irregular forms you end up having built into your home or building, the braces looking almost like branches growing from a tree.


Thursday, June 28, 2012

Windswept week five arrived, washed us ashore, weather-beaten but spirits unbroken. Monday and Tuesday we finished the floor to the future workshop, tossing in the occasional odd window and door; the effect of doors and windows without walls is surreal and pleasantly disorienting.


Wednesday morning, into the woods, to search for willow with which to fashion flourishes. The mud was thigh deep and the return trip with our willow hoard was the most survivalist-like adventure since at least our plaster machine-gunning days, but the effect of the willow on, for example, Jo and Joe's respectively professional and amateur rails, below, was well worth the wary wavering and wearying warring.


What else? 2 beautiful sets of stairs leading into the workshop, and frames for the light straw clay to nestle into snugly. Much of this performed in Thursday's biblical gales, which did not abate and were not placated by secular prayers or curses.

Easygoing Friday. Paul, suffering from a rare bout of agenbite of inwit, brought about by the Dickensian conditions under which we were forced to labor on Thursday, treated us to a morning movie, "Natural Building and a New Sense of Earth," starring Paul Dillon as the young bearded lad and featuring Joe Klodzinski's left shoulder. The remainder of the morning was spent prioritizing the long term needs and features most salient to our respective dream homes, and discussing nascent design proclivities. We were then given an early leave, to pursue reunions, repatriations and Joycean epiphanies, and yes we said yes we will Yes.


Sunday, June 24, 2012

This blog is from the week starting the 4th of June... Well they say a picture tells a thousand words, I don't have a picture or probably not a thousand words either so we'll see how it goes...... This week we put down the suspended planked floor on the workshop. We started off by laying 3 rows of 6" x 3" timbers on top of the pillars which support the upright posts. It took a bit of time to get all of these level and level relative to each other. When they were all set in place they were bolted into the upright posts with threaded bar, washers and nuts.

Next up was to lay the 5" x 2" floor joists perpendicular to this. They were notched into each of the beams an inch down to keep the overall height of the floor as low as possible so Paul wont hit his head on the cross beams.... This gave us a nice bit of chiseling practice and a bit of a chance to use the chainsaw for accurate cutting to make the initial cuts before chiseling out the joint. We then layed down the floor joists and fixed then in with two 90mm screws into every point at the beams..

I hope its all taking shape in yere imaginations! Finally the 6" x 1" floor joinsts were put down, pre drilled with brad nails driven home to secure them, we left a gap of about 2 or 3mm between each board so that swelling of the boards could be taken into account.. There was some tasty shaping of the planks done around the post uprights to give a clean finish.. Thats about it and if you had no idea what i have been on about I am sure some pictures of the finished floor will appear in next weeks blog.. goodluck

Tuesday, June 12, 2012

After a well-deserved three-day weekend, the mud bandits were back in action during the week of May 29th.  We finished the plastering on the big house by Wednesday, took a deep breath, and began the process of extracting lime from our hair and clothing--no small task!  It was quite rewarding to step back and see both coats completed; plastering was truly a team effort that allowed us to gel and find our rhythm working together.  For the next 72 hours, we had to be sure to keep the house watered (thanks especially to Paulina!)...this task of snaking the hose along the labyrinthine scaffolding was worthwhile because it prevented major cracks from forming in the plaster.

Next, we moved on to the A-frame structure that was erected last internship season.  This building is to become a place for a composting toilet and shower, replete with a splendid view of the property, yellow wild iris included. In the A-frame, we laid floor joists, nailed down floor boards, and framed up the doors.  Notching joints in round wood beams above your head is tough stuff, but it's a quick way to become accustomed to using a chisel and rasp!  We also got to scribe around the round wood posts so that the end floor boards could be fitted.  Jo and Paulina also began constructing a smart set of stairs going up the the A-frame.


Finally, on Saturday, Paul treated us to a short course, affectionately known as Tool School.  He covered the basics of safety equipment: ear muffs (especially handy for hammering in floor brads!), goggles, gloves, the tool belt, and--most importantly--one's own head.  We also practiced power drilling, sharpening and honing chisels and knives ("Pull to hone...push on stone!"), and using the chainsaw.  We also finished nailing down the floor in the A-frame--a prime opportunity for practicing hammering.  As Paul says, "It's a wristy action."

Sunday, June 10, 2012


 Our first week here was preparing for lime plastering, by mixing cob to repair a few little cracks that had happened in the cob walls since they were built. So we had fun mixing the cob by foot in tarps and also put the scaffolding up around the house, complete with tarps and hessien strips to shade the walls, and protect them from the elements. Then we covered over the wooden beams, and boards under the eaves of the building with plastic. At the end of the week we had a bit of time and made ourselves the cob oven with adjoining bench, that had the startings of a Romford fireplace at the other end of it.


 Paddy preparing the bottom of the wall for plastering.


Taylor and Greg hard at work.


Paul in charge of the hopper, spraying the plaster on.


Jo plastering up the side of one of the windows.


Next week we started on the plastering. It was our first week of Lime plastering and the Irish weather was kind to us, as were working outside and putting a weather-proofing 2 coats of lime plaster on the whole of the outside of Paul and Thereses' house. We used a hired big cement mixer, so we could make large amounts at a time, which would speed up the process. We also used a compressor, which was borrowed from Ken, Pauls' friend who is our stone masonary teacher. With the compressor we had an attachment called a hopper/applicator, which was fillied with the lime motar and which you could hold and would spray the mortar onto the wall. So one person sprayed on the mortar with another person filling the hopper for them. Then a team of us came behind and with some handmade wooden floats and some plastic floats we smoothed and flattened the plaster, trying to get it to an even thickeness and following the shape and contours of the cob underneath. An important task for one person was to go around the house with the hose and spray the walls with water before the plaster was sprayed on, and then at intervals throughout the day as it was starting to dry out. This was especially important as it was a dry, mostly sunny, and windy week, and one of the important things we learnt is that the lime mortar as it is drying/curing needs to dry out very slowly and not loose it's moisture content too quickly, or it will tend to weaken and crack. Lime mortar unlike cement can take years to dry and set completly, and it will eventually turn back to lime stone or close to it.
   So as a group, we all took it in turns to make the mortar in the mixer, to spray it on the wall with the hopper, to float it and to do the finishing down the sides of the windows and doors and along the bottom and tops of the walls. (We had to cut bits of old insulation, that fit tightly into the window and door openings so that they didn't get sprayed with the mortar, then they were taken out and moved to the next opening after we had moved past them with the hopper. Then we could finish the gaps around the windows and doors where the insulation had been.We did this by hand, using trowels and hawks, starting at the top of the reveals, or sides of the windows and working downwards.
The lime mix we used was put into the mixer in this order: 3 full buckets of sharp sand (e.g. river sand which has sharp unrounded edges) then 1 bag of lime (2, 2/3 buckets). Then 1 handful of synthetic fibres then another 3 buckets of the sand. Lastly the water was added a little at a time to let it mix in before adding more. It worked out 1-1,1/2 buckets of water per mix. then this was left to mix for about 20 minutes before it was taken to be used. Ken came and helped us out some days too and gave us some tips and a few of us made our own woden floats, which was a fun process.


Joe, Paddy and Greg working on the last bit of the house to be plastered.


Finished plaster as it starts to dry.      

This first coat of plaster was about on average about 25-30mm thick and at the end of each day of plastering we scratched the surface of the plaster using a special float with 3 screws sticking out of the end of it which are evenly spaced. and when rubbed gently over the surface of the plaster leave parallel scratch marks. this was done in semi-circular patterns and gives the surface a slightly rough finish, which gives a key for the next coat of plaster to stick to and also helps decrease the risk of cracking.
The 1st coat was finished at the beginning of the following week and the second coat was applied ontop of it using the applicator again, but with a thinner covering of about 15mm of plaster. Exactly the same process was followed apart from we didn't scratch the surface of it, and just finished it mostly using the wooden floats, or in a couple of places sponges, where we couldn't get the floats into. We also took the plastic off that was protecting the woodwork and cleaned down all of the woodwork and windows and cills etc.

Leila, who was an intern from 2011 also came to helps us for a few days and joined us in the plastering and our first swimmimg trip to the Loch and also our first pizza party (including Leilas' dessert pizzas) for which we were joined by some of Pauls family for a lovely evening.  
There had been a few dramas in the first 2 weeks, including Bonnie the dog losing the tip of her tail in the door of the mobile home. But on the whole I think we worked long days, but shared some fun times, great food  and got to know a bit of the local area.

A well deserved tea break, being enjoyed. 

Sunday, May 20, 2012

New season, new crew!

Dear friends of Mudbandits,

Summer season has arrived along with our new, energetic crowd for sharing the joys of mudding around. Five new human and one doggie friend have joined this crew for the summer, generously spreading their spirits and talents on-site and between all of us. Welcome all: Greg, Jo, Joe, Taylor, and Paddy! With Paul and Pau included, we are now 7.

Our first and busy week included sculpting a new cob oven and a cozy sitting area nestled between the small cob cottage and the main building. We also prepared a basecoat plaster mix and used it for patching some cracks and shrinkage areas around the top of the walls, lintels and sills. This is prep work for plastering soon to follow. Some tasters from this opening of the season:

Greg and Taylor smoothing out the inner sand form for the cob oven
 
Fire cob mix is made with lots of sand and some fine potter's clay. Above Joe, below Paddy and Jo mixing in the polytunnel.
Fire cob is followed by a layer of straw to insulate oven space and keep the inside nice and hot during baking.
 
Joe, Paddy and Greg preparing the base for an outdoor Rumford fireplace at the future hangout spot 
for cozy summer evenings
 
Greg and Jo giving finishing touches to a communally created cob bench
 
Springtime has brought greenery on top of our building and it begins to melt into its surroundings

To finish this heads-up about our current activities, some notes about our early spring:

While blog has been quiet during the winter, things have been rolling along in the form of careful weeding and garden prep. Garden seedlings are planted and on the way - many have been planted and flourishing on the ground already: peas, beans, potatoes for summer and winter use, lettuces, herbs, carrots, parsnips, beets, cabbage and spring onions – even quinoa!

Early spring has been busy with insulation boards and underfloor heating pipes laid on the floors. Inside the insulation run electricity and water pipes in slots carved specifically for them. To cover the insulation we spread black plastic to accomodate underfloor heating pipes and thermal mass screed to be poured on top of it all. This will make our house a hybrid, showing that it is possible to combine elements of the traditional and conventional.

Above insulation boards, below underfloor heating pipes ready for screed to be laid

Spring has also brought us a new terraced orchard on the East side of the building site with over 30 fruit trees of different heirloom varieties. There, apple, plum, pear and cherry trees are planted along with a lower row of willow and alder, later to protect the orchard from the often heavy South-Westerly breezes. Calendula is blooming, giving us sun-ray-like stripes to our freshly picked salads and of course, a healing quality to inspire hand-made cremes and salves…

Above, the terraced orchard landscape. Below, the beginnings of a blooming glory in late April

Monday, May 14, 2012

Internship 2012

We would like to welcome our 2012 interns - Looking forward to working and learning with Joe, Taylor, Greg, Paddy and Jo...watch this space